
Heres Some Camping Tips & Tricks at Your Fingertips
Our Kiefer Campground Blog is the information you need to make your next camping trip even more enjoyable. From RV and camping tips and tricks, to amazing campfire recipes, to advice on planning your next trip... the information below is here to help you. And please, feel free to comment and share your experiences, knowledge and favorite recipes. At Kiefer Campground, we are a family and all here to help each other enjoy the great outdoors to the fullest!
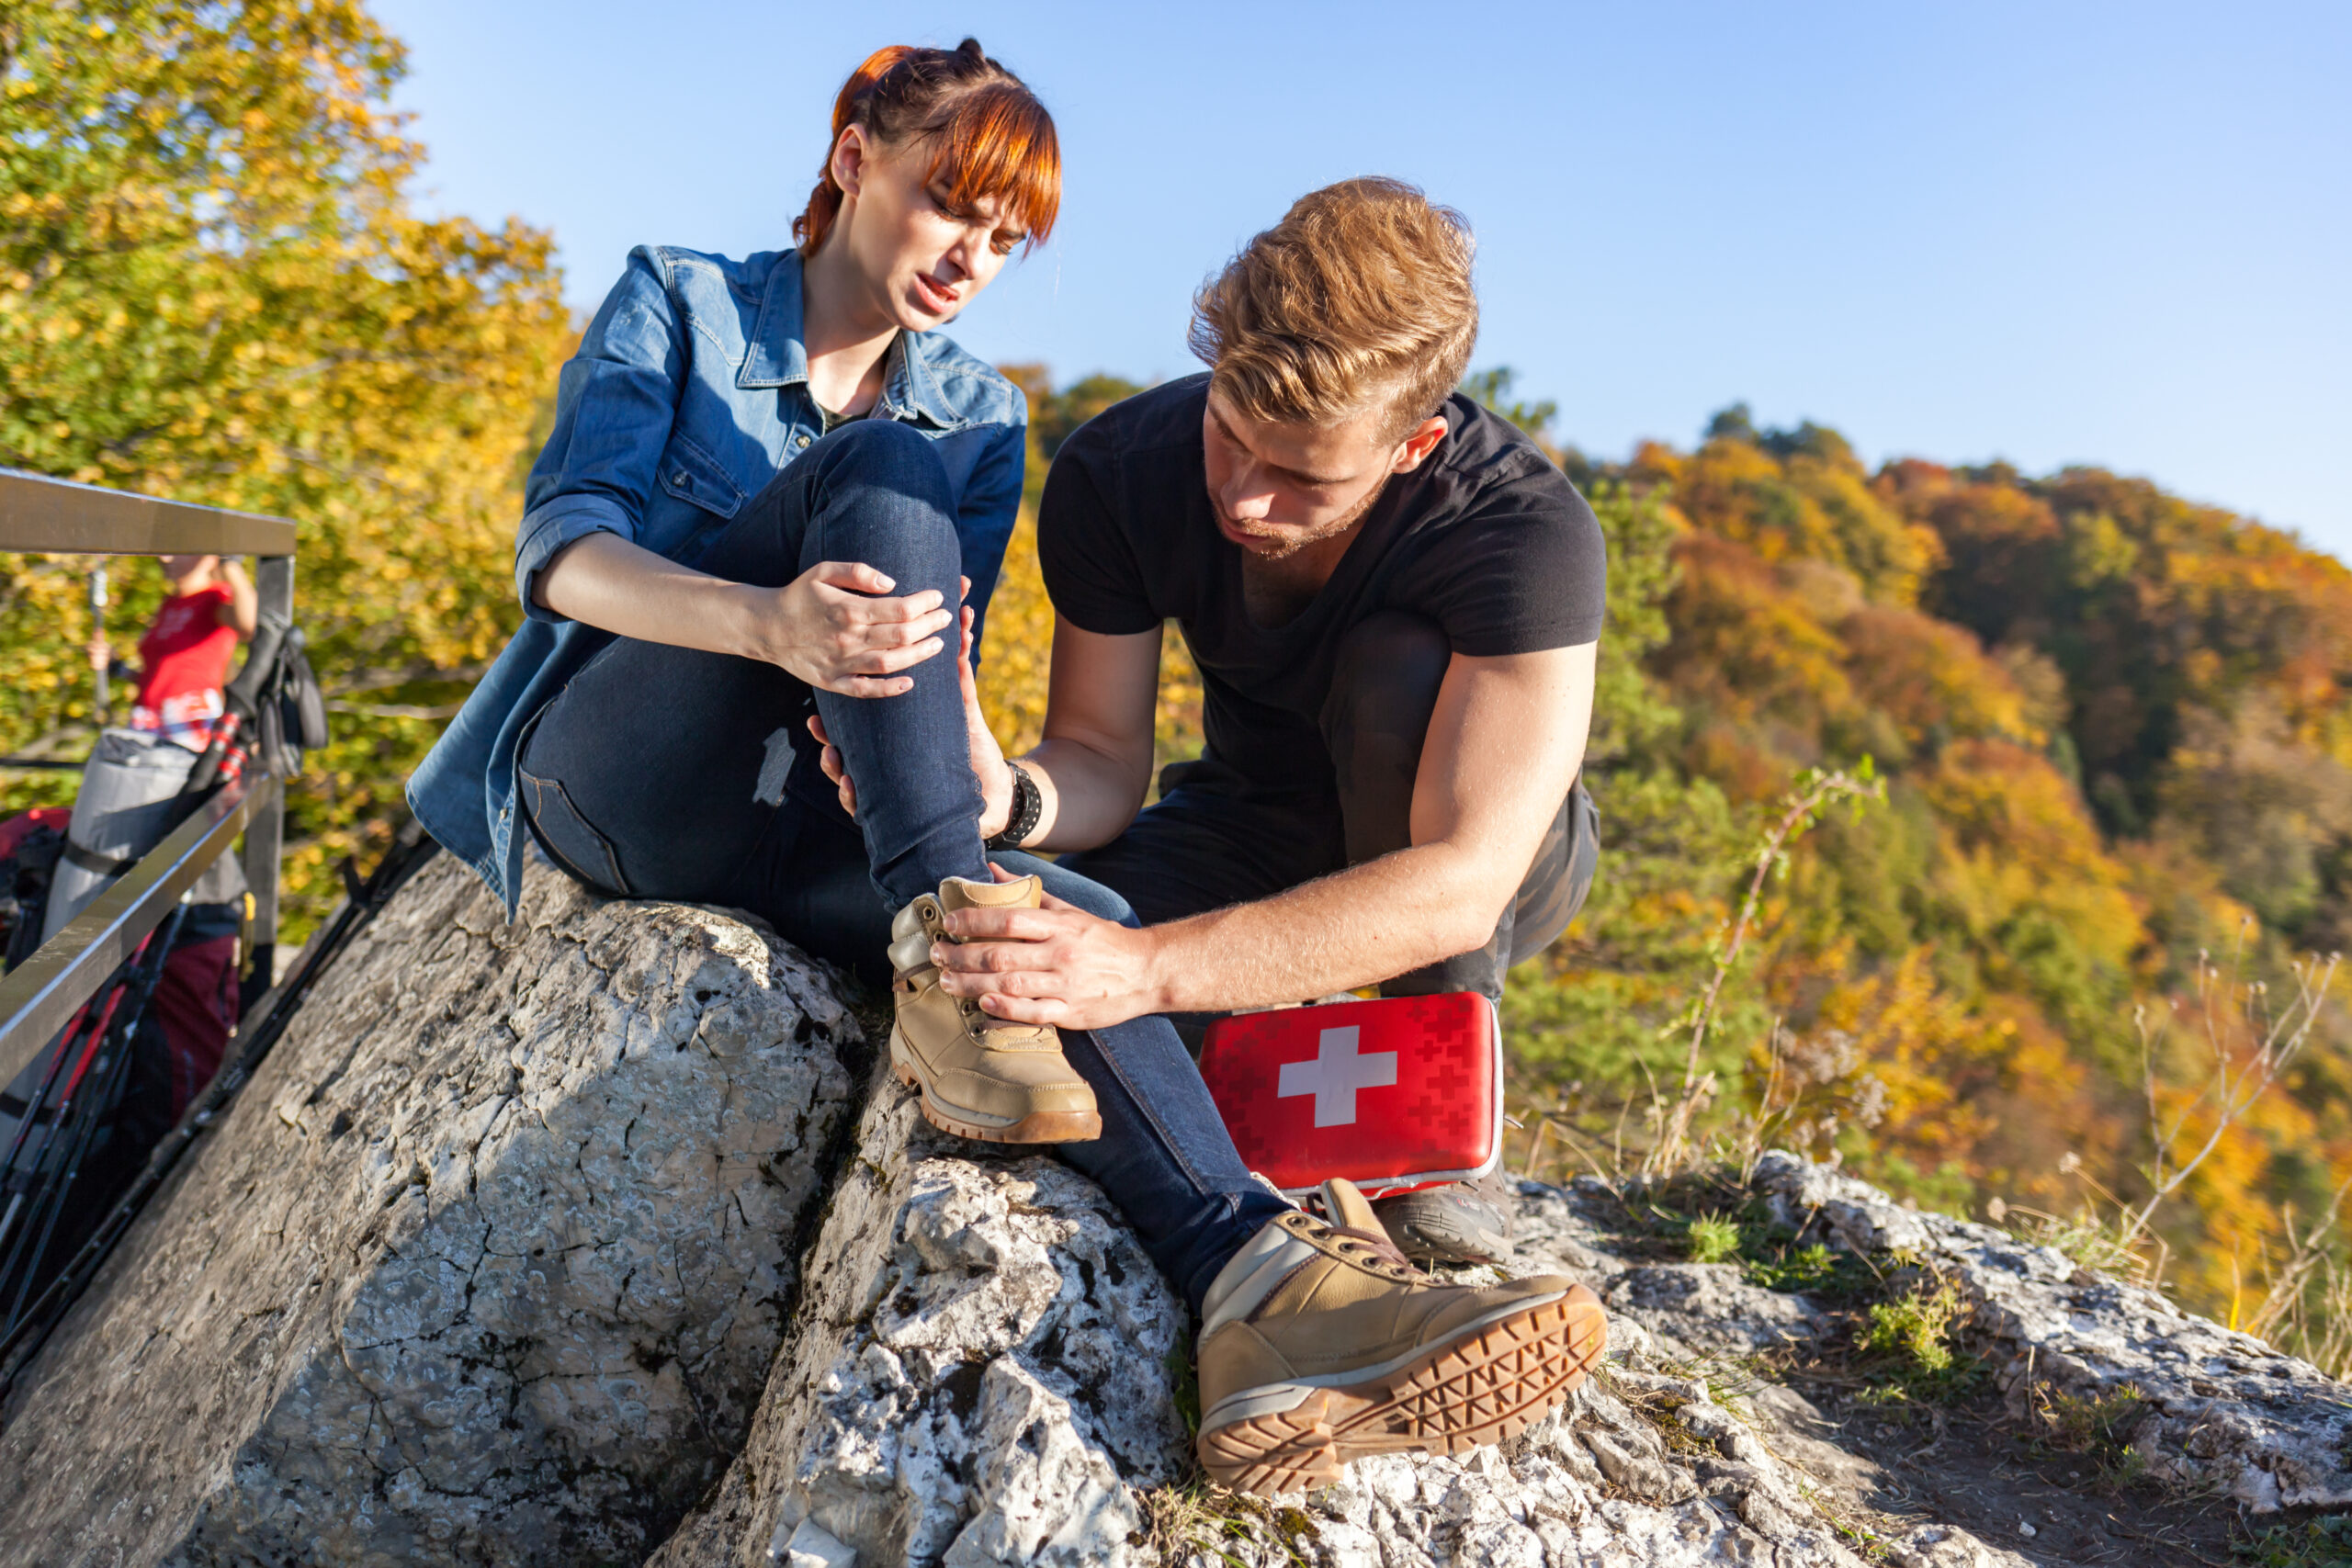
Basic First-Aid Tips If You Do Not Have Any First-Aid Materials
Basic first-aid tips without actual first-aid materials can be helpful in many situations where immediate professional medical assistance isn’t available. Here are some essential tips:
Tips
- Assess the Situation: Before providing any assistance, ensure the area is safe for both you and the injured person. Remove any immediate dangers if possible.
- Check for Responsiveness: Approach the person calmly and gently shake their shoulders to check if they respond. Ask loudly, “Are you okay?” If there’s no response, shout for help and call emergency services.
- Control Bleeding: If someone is bleeding heavily, apply pressure to the wound with a clean cloth or your hand if necessary. Elevate the injured limb if there’s no risk of further injury. Encourage the person to apply pressure themselves if they can.
- Manage Fractures or Sprains: If someone has a suspected fracture or sprain:
- Encourage them not to move the injured limb.
- Use a makeshift splint (such as a stick or rolled-up newspaper) to immobilize the limb.
- Apply ice or a cold pack wrapped in a cloth to reduce swelling.
- Monitor Breathing: If someone is unconscious but breathing:
- Gently tilt their head back and lift the chin to open the airway.
- Monitor their breathing closely until help arrives.
- Provide Comfort: Stay with the injured person and reassure them until help arrives. Keep them calm and warm, covering them with a blanket if possible.
- Do Not Offer Food or Drink: Avoid giving food or drink to an injured person, especially if they’re unconscious or have a head injury, as it could complicate medical treatment.
- Do Not Move Spine or Neck: If there’s a possibility of a spinal injury, avoid moving the person’s head, neck, or back unless absolutely necessary to prevent further injury.
- Keep Yourself Safe: While helping others, ensure your own safety is maintained. Assess risks before taking action.
- Stay Informed: Consider taking a basic first aid and CPR course to prepare for emergencies and learn more advanced techniques.
Remember, these tips are general guidelines and do not substitute for professional medical care. Whether you’re at Madison Campground or somewhere else, always seek medical assistance as soon as possible in emergencies when it is available.
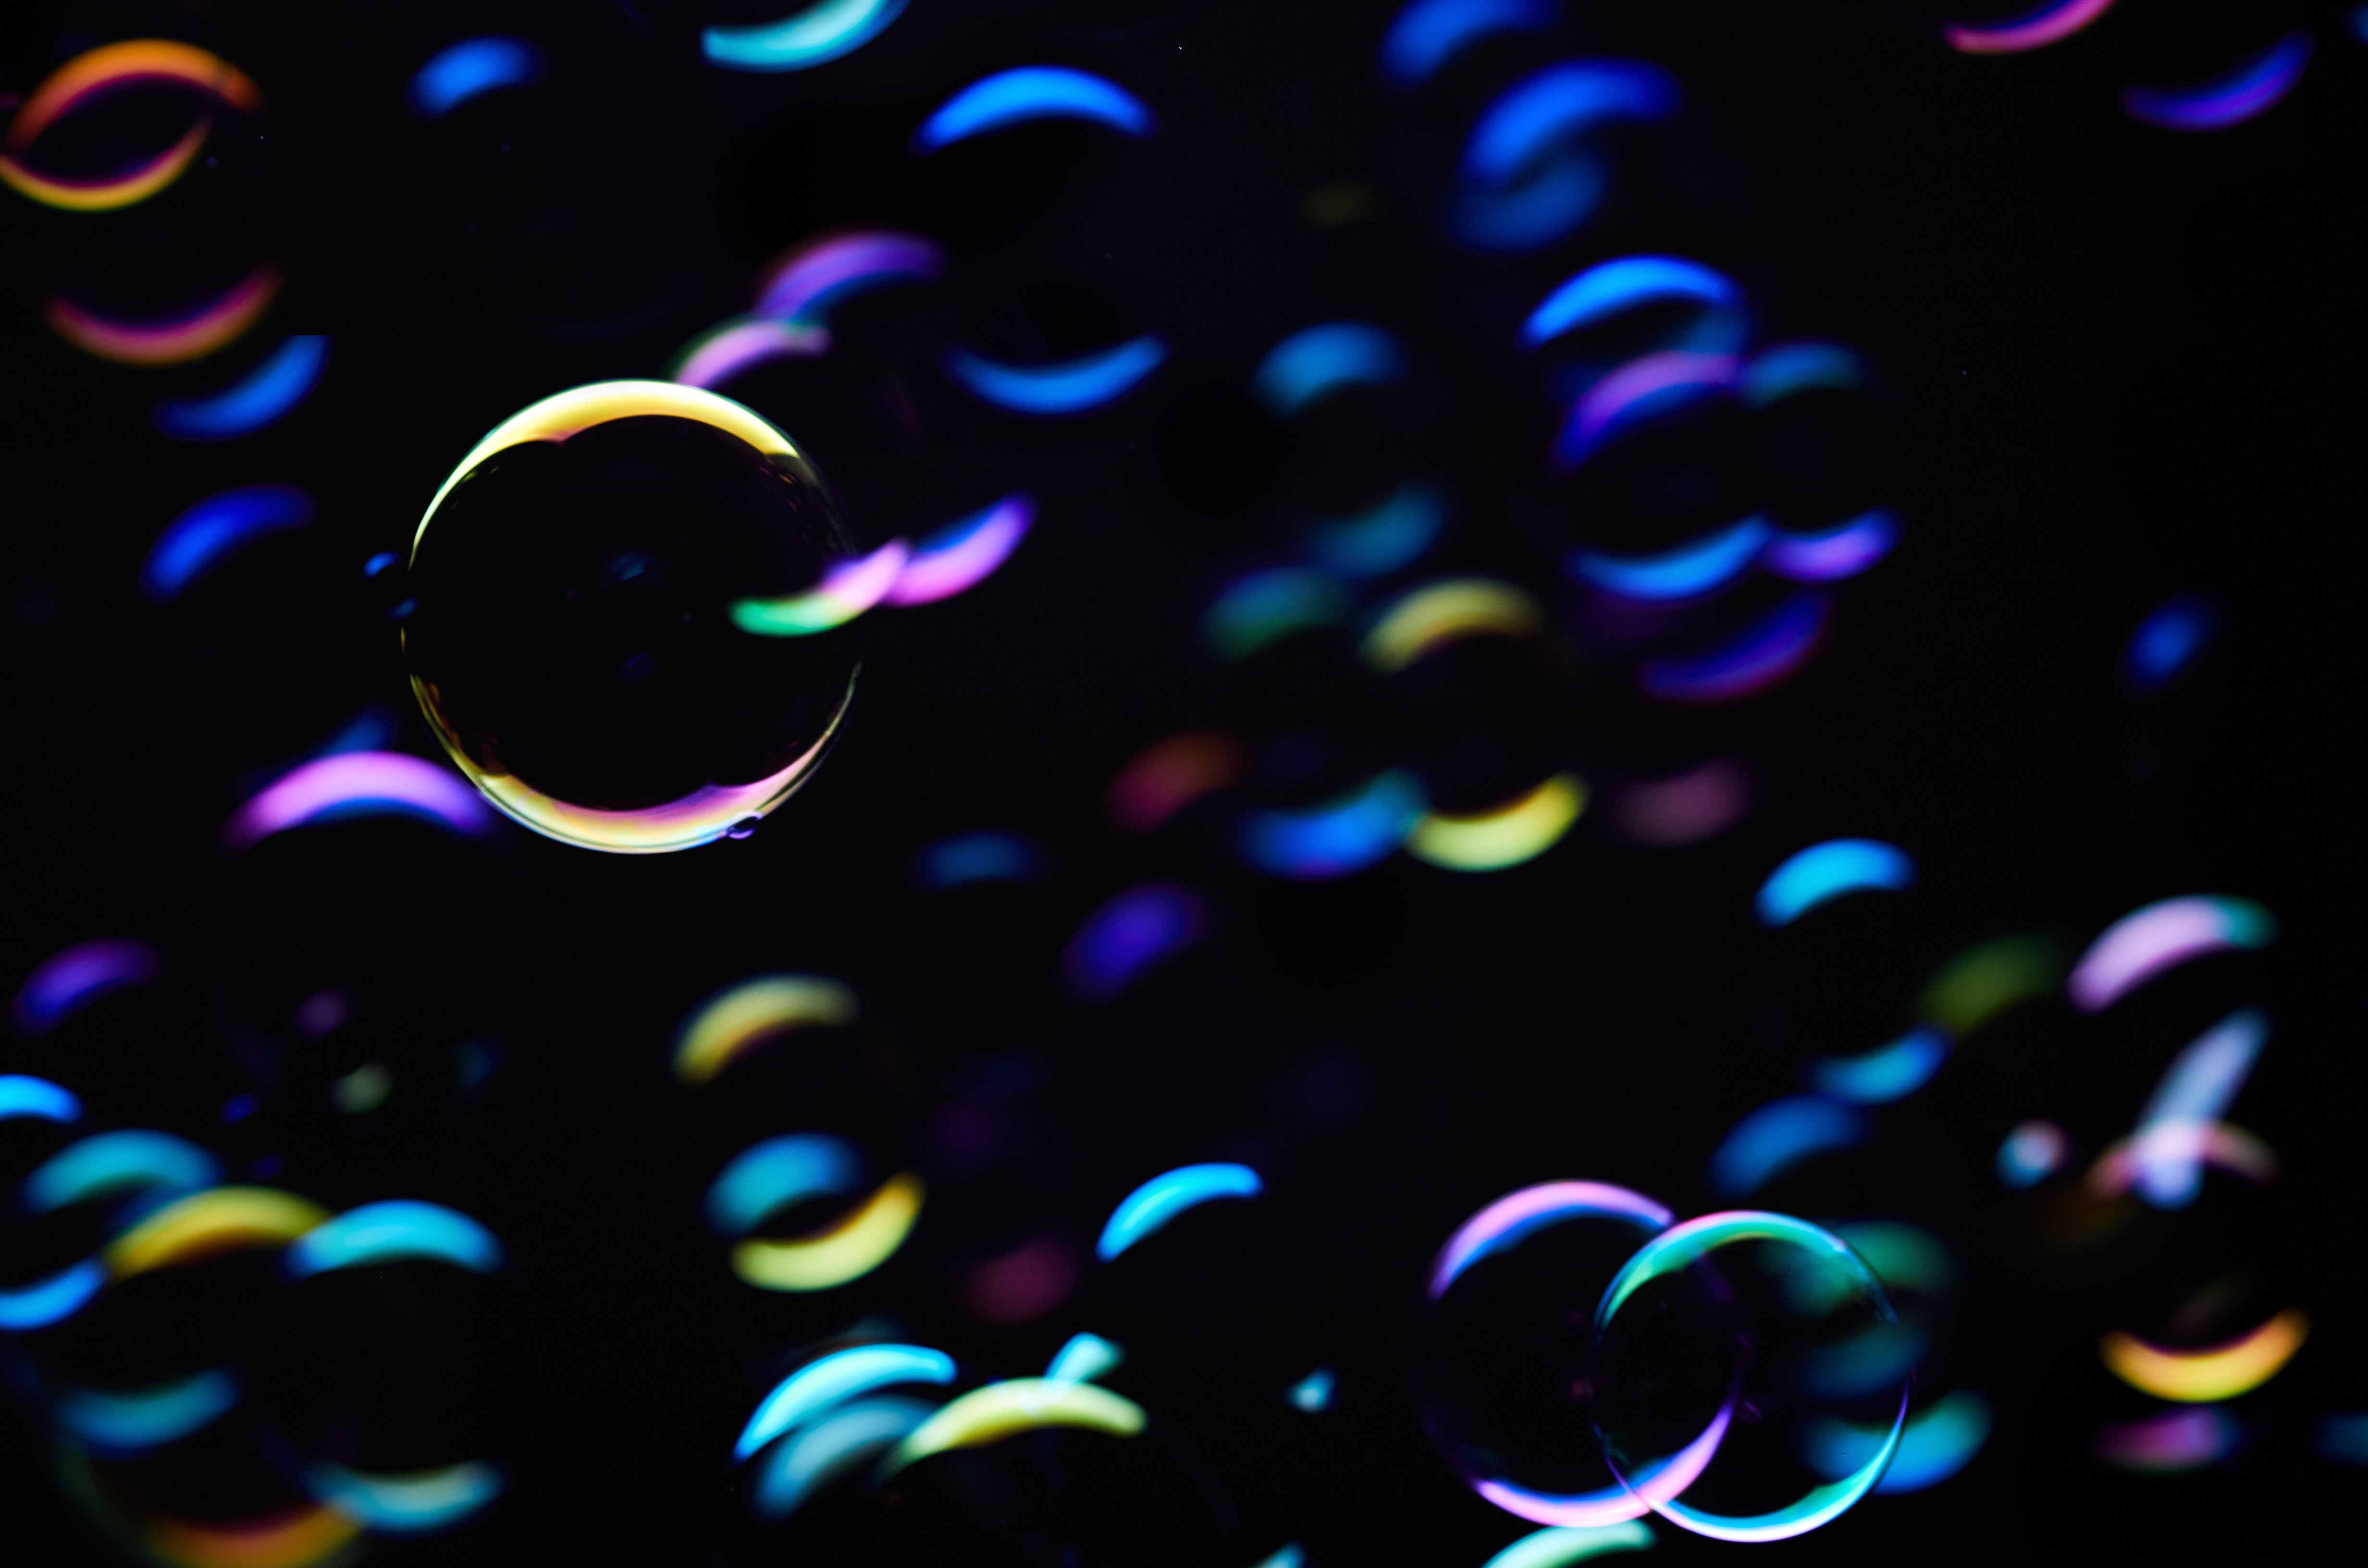
DIY Glow-In-The-Dark Bubbles
Making DIY glow-in-the-dark bubbles can be a creative and entertaining project. Here’s a simple recipe you can try at home:
Materials Needed:
- Bubble solution (you can buy this or make your own using dish soap and water)
- Phosphorescent or glow-in-the-dark powder or pigment
- Container for mixing
- Bubble wand or straw for blowing bubbles
- Optional: Blacklight for charging the bubbles
Instructions:
- Start by preparing your bubble solution. If you’re making your own, mix dish soap with water in a container. You can experiment with the ratio to find the best bubble solution consistency.
- In a separate container, mix the phosphorescent powder or pigment with a small amount of water. Stir well to create a smooth paste. The amount of powder you use will depend on how vibrant you want your bubbles to glow. Start with a small amount and adjust as needed.
- Once the powder is well mixed with water, add it to your bubble solution. Stir or shake the mixture thoroughly to ensure the powder is evenly distributed.
- Let the bubble solution sit for a few minutes to allow the phosphorescent particles to disperse evenly throughout the solution.
- Now it’s time to start blowing your glow-in-the-dark bubbles! Use a bubble wand or simply blow through a straw into the solution to create bubbles.
- If you have a blacklight or UV light available, you can use it to charge the bubbles before releasing them into the dark. This will enhance their glow and make them even more visible.
- Enjoy watching your glow-in-the-dark bubbles float and shimmer in the darkness!
Remember to handle the phosphorescent powder with care and avoid inhaling it or getting it in your eyes. Have fun experimenting with different amounts of powder to achieve the desired glow effect!
Here’s a fun activity to try on your camping trip to Madison Campground!
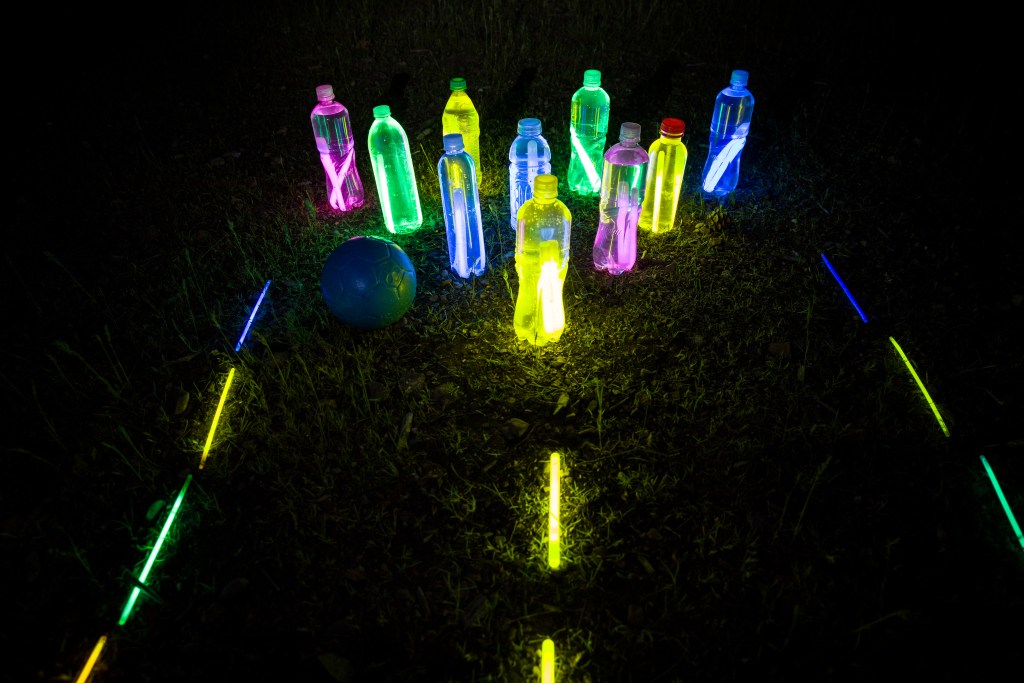
Glow-in-the-Dark Bowling
Creating a DIY glow-in-the-dark yard bowling set can be a fun and unique outdoor activity. Here’s a simple guide to help you make your own glow-in-the-dark yard bowling set:
Materials:
- Bowling Pins:
- 10 empty, clean plastic bottles (2-liter soda bottles work well)
- Glow-in-the-dark paint or glow sticks
- Water (for stability, optional)
- Funnel (if using glow sticks)
- Bowling Ball:
- Medium-sized rubber or plastic ball
- Glow-in-the-dark paint or glow sticks
- Markers/Decorations:
- Acrylic paint (optional)
- Paintbrushes (optional)
- Other Supplies:
- Sand (for weighting bottles, if needed)
- Duct tape
- Scissors
- Newspaper or plastic sheet (to protect your work surface)
- Clear sealer (optional, to protect the paint)
Instructions:
Bowling Pins:
- Prepare the Bottles:
- Remove any labels from the plastic bottles.
- If you want more stability for your pins, fill each bottle with water (about 1/4 to 1/3 full). You can also add sand if you prefer.
- Add Glow:
- If using glow sticks, crack them to activate the glow, then insert one or two into each bottle. Use a funnel to make it easier.
- If using glow-in-the-dark paint, apply a generous coat to each bottle. You may need multiple layers for a brighter glow. Let the paint dry between layers.
- Decorate (Optional):
- Get creative and use acrylic paint to decorate the bottles. You can add numbers or patterns to resemble traditional bowling pins.
- Seal (Optional):
- Once the paint is completely dry, you can apply a clear sealer to protect the paint from outdoor elements.
Bowling Ball:
- Prepare the Ball:
- If using a rubber or plastic ball, clean it thoroughly.
- Add Glow:
- Apply glow-in-the-dark paint to the ball, covering the entire surface. Alternatively, wrap glow sticks around the ball, securing them with duct tape.
- Decorate (Optional):
- Use acrylic paint to add decorations or patterns to the ball if desired.
- Seal (Optional):
- Apply a clear sealer to protect the paint on the ball.
Setup:
- Place the pins in a triangular formation at one end of your yard or playing area.
- Stand back and take turns rolling the glow-in-the-dark ball to knock down the pins.
Tips:
- For better visibility, play in a darker environment.
- Ensure the paint or glow sticks are securely attached to the bottles and ball.
Enjoy your DIY glow-in-the-dark yard bowling set!
Play a game or two on your next trip to Madison Campground!

Family owned and operated, Kiefer Campgrounds strive to offer you the best rates for a comfortable location with outstanding service, and spotless facilities. When you stay in one of our parks, you are no longer just a happy camper, but a part of our family! We are most certain you will enjoy your stay with us. Pick your favorite location and book your spot now before it’s too late! You’ll be happy you did!